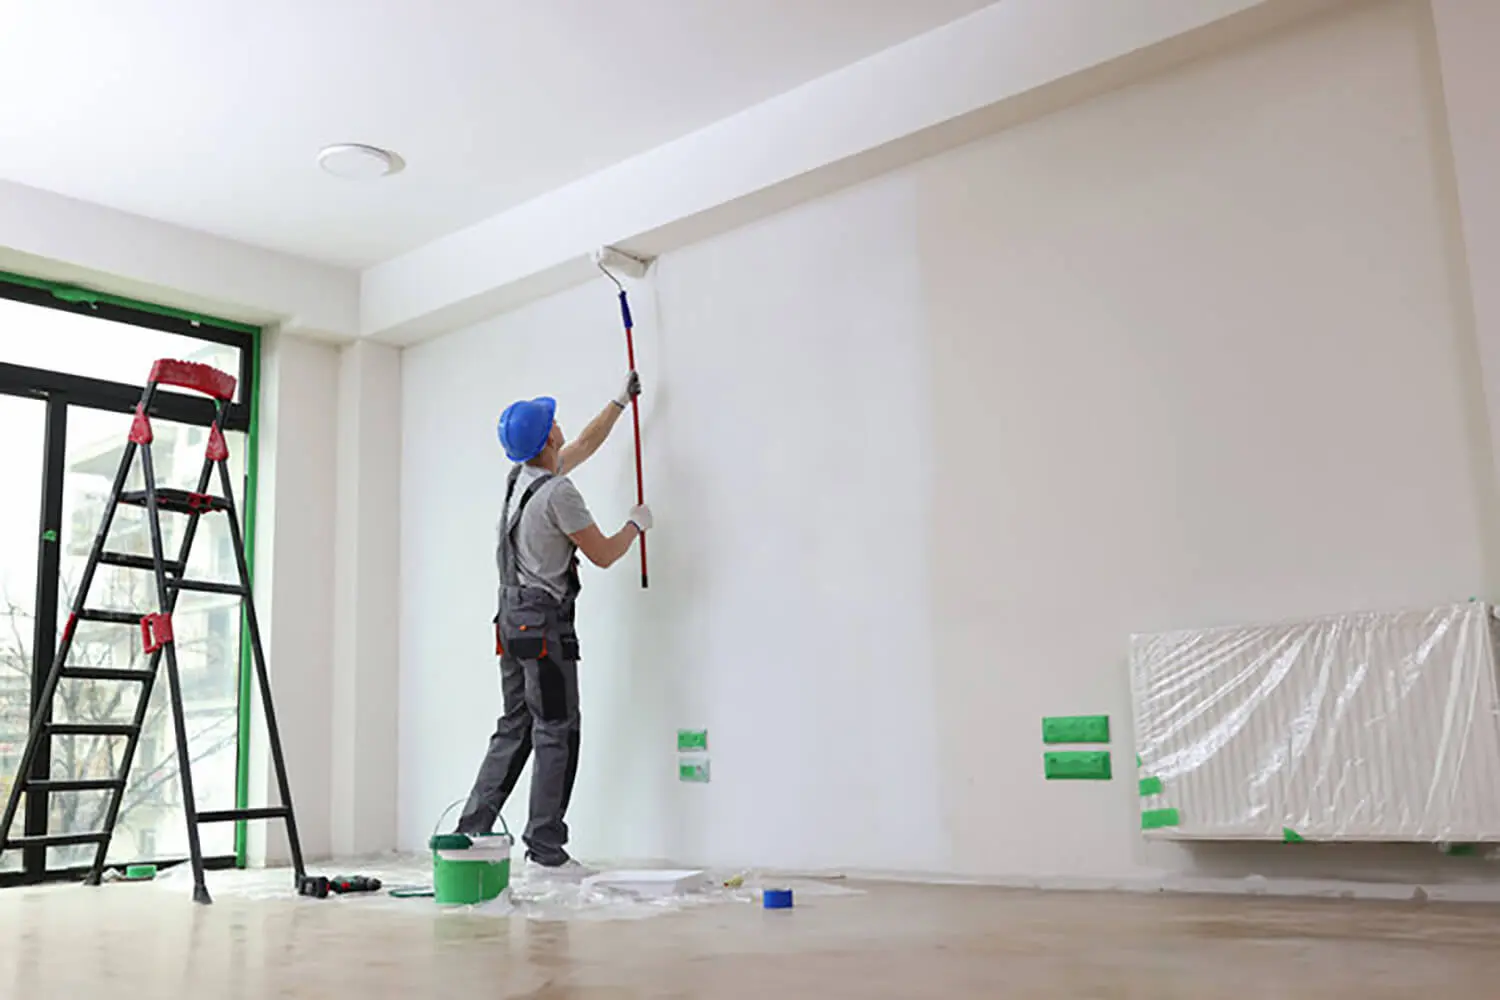
Why Professional Drywall Repair Matters Before Interior Painting
Most homeowners planning an interior painting project spend their energy thinking about color. Sheen level, undertones, how the light will hit the room — all of it gets careful consideration. The condition of the walls themselves is often an afterthought.
That is a problem, because paint does not cover imperfections. It follows the surface beneath it.
Whatever is on that wall before the first coat goes on — nail pops, cracks, patched holes, lifted seams — will be visible after the paint dries. In many cases, more visible than before. Understanding why professional drywall repair before painting matters is the first step toward getting a finished result that actually looks the way it should.
What Drywall Imperfections Actually Do to Interior Paint Results
Paint does not behave the way most people expect it to when applied over a damaged surface. The instinct is to assume that a fresh coat will smooth things out visually. It does the opposite.
Paint reflects light across a wall in a uniform way. When the surface beneath it is uneven — a raised nail pop, a depression from a filled hole, a seam that sits slightly proud — that variation catches light differently than the surrounding wall. The flaw that seemed minor before painting becomes the first thing the eye goes to once the wall is one consistent color.
Sheen makes this worse. Flat paint is more forgiving because it absorbs light rather than reflecting it. Satin and semi-gloss finishes, which are common in kitchens, bathrooms, and high-traffic areas, are far less forgiving. A surface that looked acceptable under flat paint can look noticeably rough under a satin finish. The higher the sheen, the more faithfully it maps every variation in the surface beneath it.
This is why drywall condition is not a separate concern from the paint job. It is the foundation the finished result is built on. Fixing imperfections before painting begins is not extra work — it is what makes the painting work.
Common Wall Issues That Require Repair Before Painting
Not every wall problem is obvious before a painting project begins. Some issues are easy to spot. Others only become clear under the right lighting or once a fresh coat of paint draws attention to them. These are the most common drywall problems that require professional attention before painting begins.
Nail Pops and Fastener Problems
Nail pops happen when the fasteners holding drywall to the framing behind it work loose over time. The result is a raised bump or cracked dimple on the wall surface — sometimes subtle, sometimes pronounced, but always visible once paint goes on.
The fix is not as simple as pushing the fastener back in. The area needs to be properly secured, the surface dimpled slightly to create room for compound, and then filled and feathered smooth. Painting over an unaddressed nail pop leaves a raised spot that catches light and continues to worsen as the fastener moves further.
Cracks From Settling and Impact
Cracks in drywall fall into two general categories, and they require different approaches.
The first is hairline cracks from normal structural settling. These are thin, shallow, and common in older homes. The second is larger cracks from impact or stress points around windows, doors, and corners, where movement and pressure concentrate over time.
Neither type can simply be painted over. Paint bridges a crack temporarily but does not bond into it. As the wall continues to move, the paint cracks along the same line and the problem comes back. Proper crack repair addresses the cause, not just the surface.
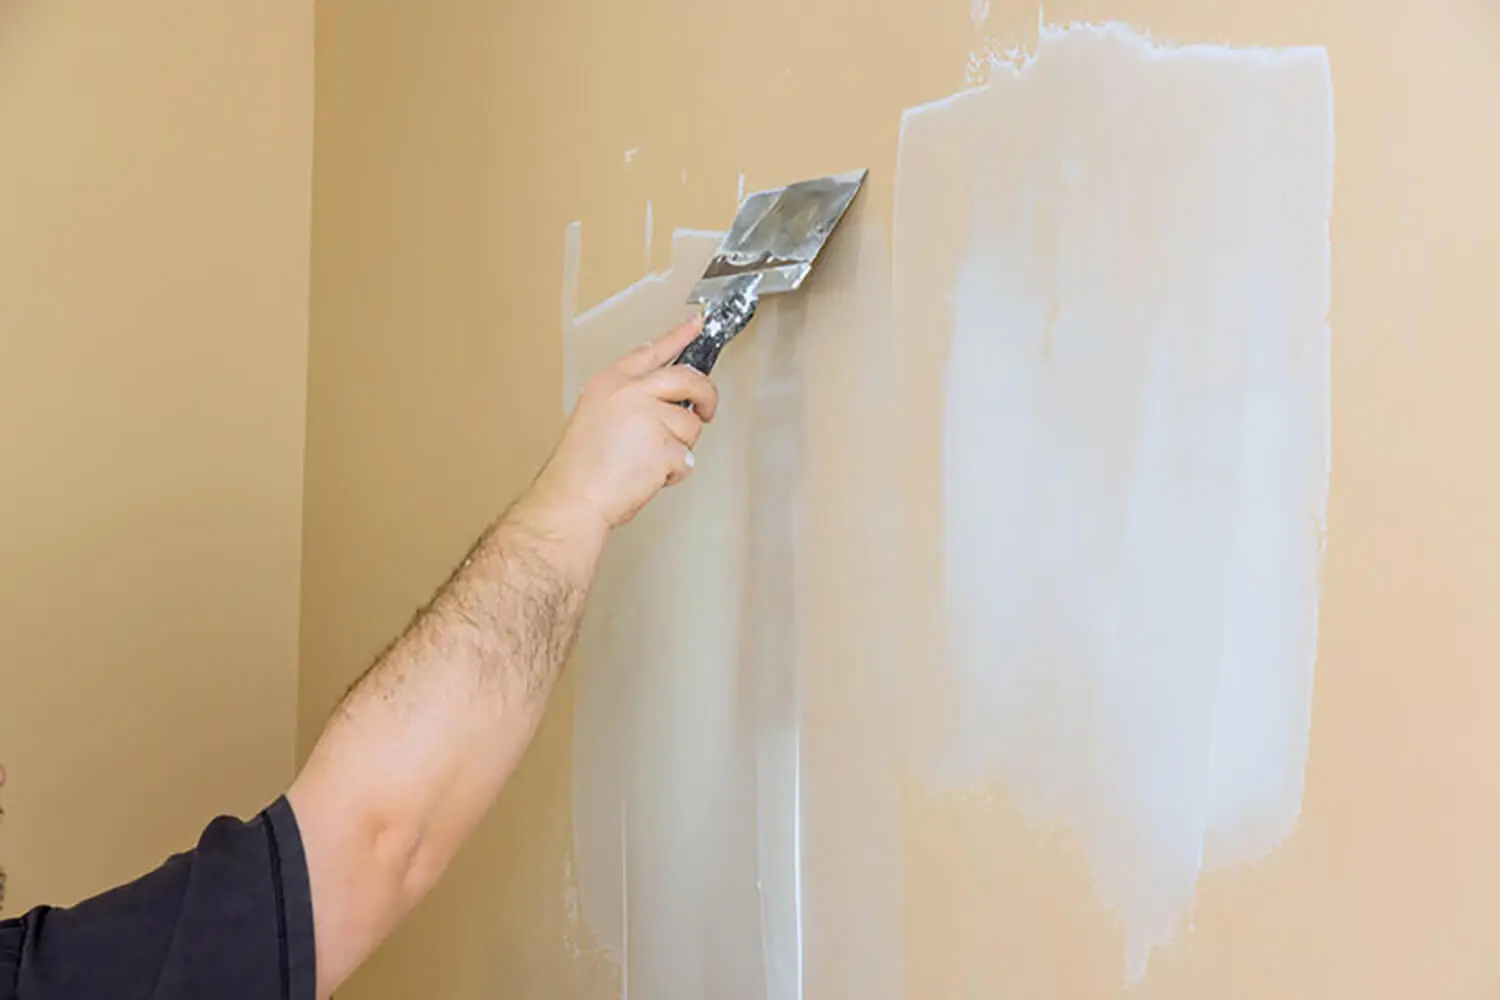
Holes, Gouges, and Surface Damage
Wall damage ranges widely in severity, and the repair approach depends on size and depth:
- Small holes from screws, nails, and anchors can be filled directly with compound and sanded smooth
- Medium holes from removed fixtures or doorknob strikes need backing support before compound can be applied
- Larger holes require a structured patch that restores the drywall itself before any finishing work begins
Regardless of size, the most common mistake is under-feathering the edges of the repair. A patch that is not blended far enough into the surrounding surface will show through paint as a distinct shape on the wall.
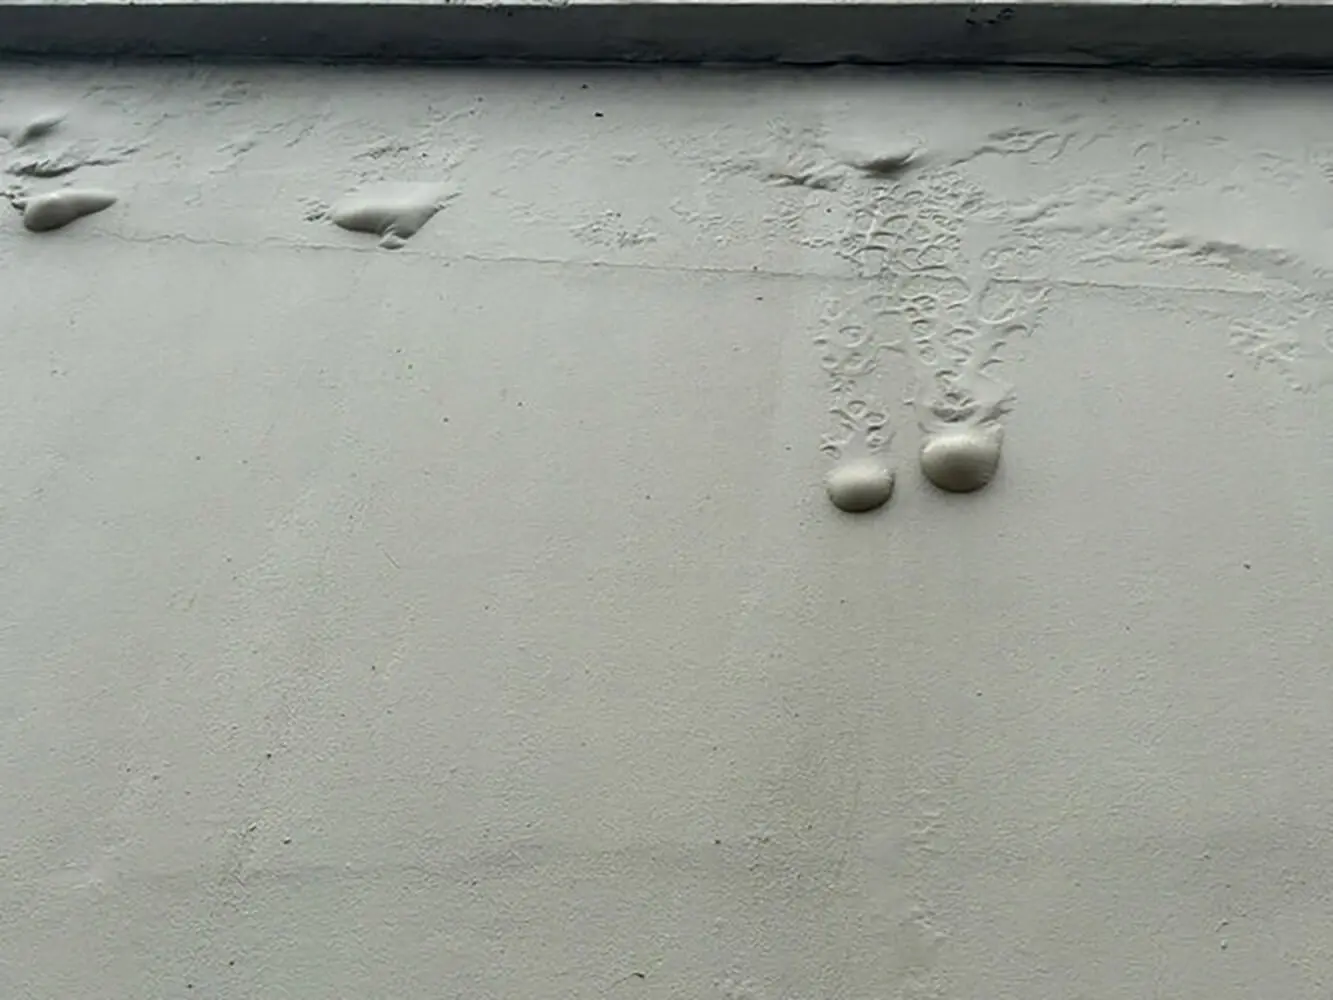
Failed Tape Seams and Texture Inconsistencies
Drywall joints are covered with tape and compound during installation to create a seamless surface. When that tape fails, it shows up as bubbling, cracking, or lifting along the seam line. Left unaddressed, it becomes one of the more noticeable problems a paint job can expose.
Painting over a failed seam accelerates the problem. Moisture in the paint can further loosen the bond between the tape and the compound beneath it, and as the paint settles, the seam becomes more defined rather than less.
Texture inconsistency is a related issue that often goes unaddressed until it is too late. When a patched area does not match the texture of the surrounding wall, the repair stays visible no matter how well the paint is applied. The patch may be structurally sound and perfectly smooth, but if the texture does not match:
- The repaired area catches light differently than the wall around it
- The boundary of the patch remains visible as a distinct shape
- No amount of additional paint coats will close the visual gap
Matching texture before primer and paint are applied is what makes a repair disappear into the wall rather than stand out from it.
What Professional Drywall Repair Involves Before Painting Begins
Knowing which problems require repair is one part of the picture. Understanding what professional repair actually involves is the other. Here is what the process typically looks like when a painter handles prep the right way.
Assessing the Surface and Identifying What Needs Attention
Professional prep does not start with a trowel. It starts with a thorough evaluation of every surface that is going to be painted.
One of the most reliable tools in that assessment is raking light — holding a light source at a sharp angle to the wall to reveal surface irregularities that are invisible under normal room lighting. Imperfections that are completely undetectable in everyday light conditions show up clearly under a raking light. This is how professionals find problems the homeowner never noticed.
The assessment determines:
- Which areas need patching or filling
- Which seams need to be re-taped or reinforced
- Where texture needs to be matched
- What sequence the repairs need to follow before any product goes on the wall
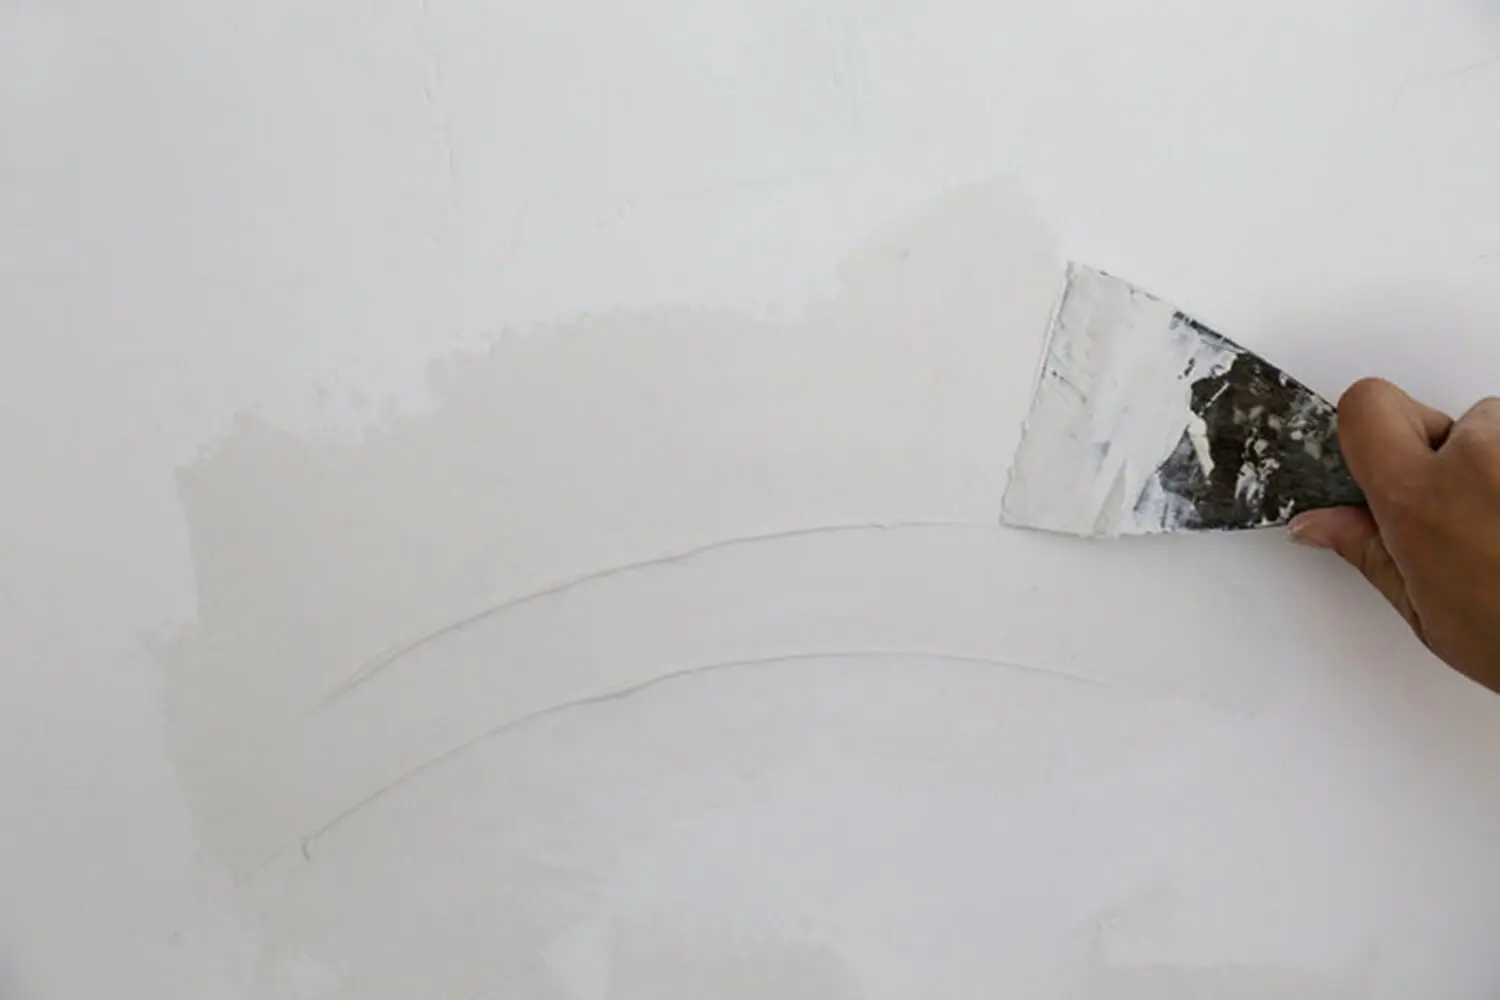
Patching, Taping, and Feathering the Repairs
Once the assessment is complete, repairs are made in the correct order. Damaged areas are patched and filled, seams and edges are taped and mudded, and then the compound is feathered outward well beyond the edge of each repair.
Feathering is what separates a professional repair from a visible patch. The goal is a gradual transition from the repaired area back to the surrounding surface — so gradual that the boundary disappears entirely. A patch that is feathered only to its own edge will show through paint as a distinct shape.
Compound is applied in multiple thin coats with full drying time between each one. Rushing this stage produces repairs that shrink, crack, or ghost through the finished paint.
Sanding, Priming, and Leveling the Surface
Once the compound is fully dry, the surface is sanded smooth. This is not a single pass. The professional works through the repaired areas methodically, checking for any remaining irregularities and addressing them before moving forward. The goal coming out of this stage is a surface that is level, consistent, and ready to receive primer.
Priming repaired areas is not optional. Raw joint compound is highly porous and absorbs paint unevenly, which produces dull or flashed spots in the finished coat — areas where the sheen is visibly different from the surrounding wall. Primer seals the repair and creates the consistent surface that topcoats need to perform correctly.
Skipping primer is one of the most common reasons a professionally repaired wall still shows the patch after painting. The repair itself was done right. The surface just was not sealed properly before paint went on.
Why a Professional Assessment Should Come Before Interior Painting Begins
The quality of an interior paint job is decided before a single drop of paint is applied. Everything covered here points to the same conclusion: the drywall surface is what the finished result is built on, and paint cannot fix what the surface gets wrong.
Imperfections that are not repaired do not disappear under a fresh coat. They become more visible. Nail pops catch light. Cracks telegraph back through. Unmatched texture holds the eye exactly where the repair was made. The paint job becomes a record of every problem that was not addressed before it started.
Professional drywall repair prior to interior painting eliminates that risk. The surface gets evaluated, problem areas get properly fixed and feathered, and everything gets primed before a topcoat ever goes on. The result is a wall that looks the way a freshly painted wall is supposed to look.
If you are planning an interior painting project, the best first step is having a professional assess the condition of your walls before work begins. Our team at Integrity in Blue can evaluate your surfaces, identify what needs attention, and handle the prep and repair as part of your project. Reach out today to schedule your assessment.